

Downloading and installing a new version of Linux on one's local PC can be time-consuming. A good substitute to save time and cost is to utilize cloud infrastructure and solutions to create and delete virtual machines. These virtual machines can easily be configured to install different versions of Linux and other types of Operating Systems(OS).
This tutorial will explain how to create a Linux Virtual Machine using Microsoft Azure. Let's Go 🐱🏍🐱🏍
What is a Virtual Machine?
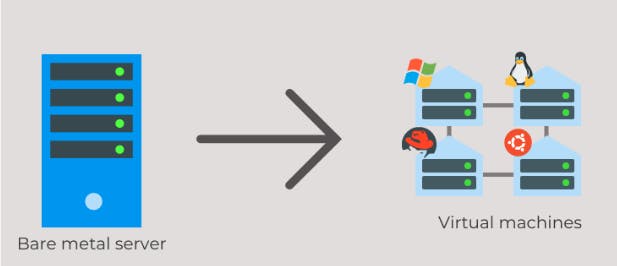
Virtual machines often known as VMs are seen as software-defined computers that run on physical servers and exist only as code. It is a computer that functions similarly to a laptop, smartphone, or server. A VM has a CPU, RAM, and disks for storing data and the capacity to connect to the internet if necessary.
Virtual Machines are used for the following:
- Create and deploy cloud-based apps.
- Use and try out a beta version of a new operating system (OS).
- Create a unique environment to make running dev-test scenarios easier and faster for developers.
- Create a backup of your current operating system.
- Install an earlier OS allows you to access virus-infected files or use an old application.
Virtual machine technology is utilized in both on-premises and cloud environments. More recently, public cloud services have begun to leverage virtual machines to give numerous users virtual application resources at the same time, allowing for even more cost-effective and flexible computing.
Large enterprises, Small and medium-sized enterprises (SMEs), and individuals can use cloud computing and cloud platforms instead of building their infrastructure. Anyone with access to the internet can use scalable computing capacity on a plug-and-play basis with cloud computing. Various cloud computing platforms such as Microsoft Azure, Amazon Web Services (AWS), and Google Cloud Platform (GCP) are among the cloud platforms that enable the development, management, and deployment of applications.
Create a Microsoft Azure Account and log in to Azure Portal
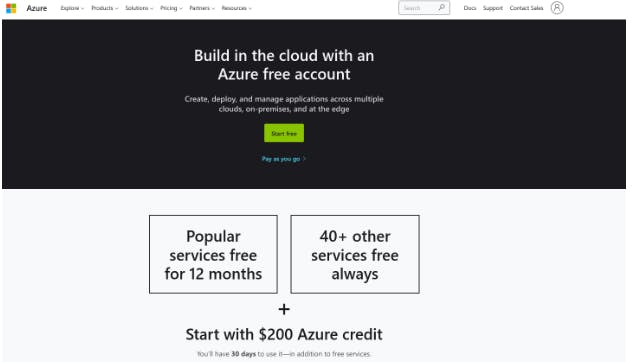
It is effortless to create a Microsoft Azure Account as a starter. You can click on this link to get $200 credits as a first-time user.
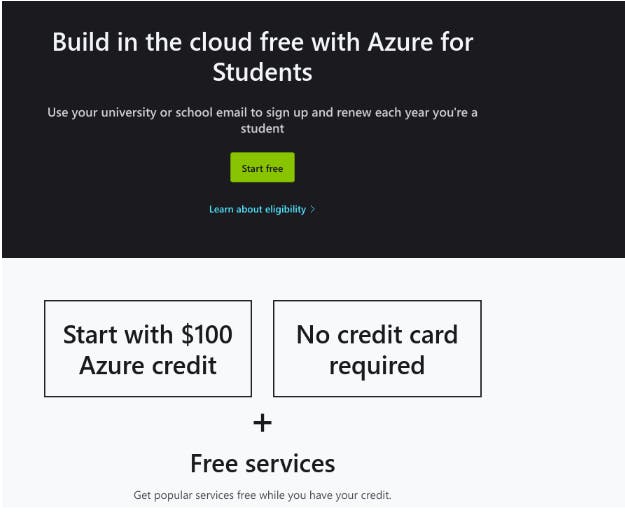
If you are a student, you can access this link to get access to a free account for $100. Please note that you will have to sign up with your student email account or university account to access this.
After creating an account, you will have to sign in to the portal. You can sign in to Azure Portal using this link.
Create a Resource Manager
Azure Resource Manager is the service that manages and deploys Azure resources. Azure Resource Manager is like a container for Azure Resources, and it has a management layer that allows you to create, update, and delete Azure account resources.
Immediately after we sign in to the Azure Portal, we will be presented with this dashboard. Here we can access varieties of features and functionalities available on Azure.
We will need to Create a Resource Manager to contain all the required resources for creating a virtual machine in Azure.

We will need to click on the resource group option on the dashboard, and this will direct us to a new page where we will have the opinion to create a resource group.

Once, we try to create a resource group; we will be required to fill in the following information.
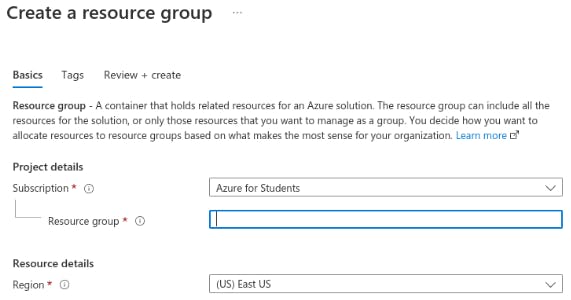
Subscription: Select the subscription which we would like the resource group to be allocated.
Resource Group: Input the name of the resource group. We will type Linux-resource-group as the name of my resource group.
Region: we will be required to select the area where we want all the resources in this resource group (aka container) to be located. We will use the East US region.
Now, we are ready to create our Linux resource group. We can go ahead and click review+create, and it will confirm the resource group, and we will have to click on start to create the resource group.
Create Linux Virtual Machine
Well done, you have done well so far. We will begin creating a Virtual Machine. The first step is to select the resource group we created.

Once we select the resource group, we will see this dashboard which contains everything necessary for that resource group.
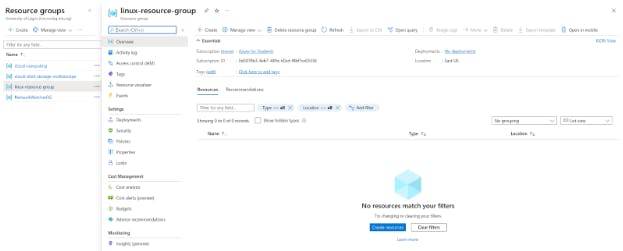
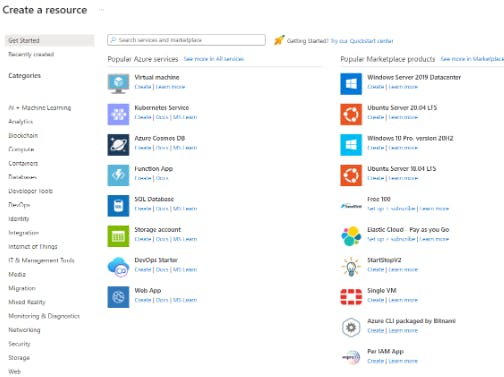
It will be easy to create a Linux virtual machine in our resource group by clicking on Create button within the Linux-resource-group dashboard. We will click on create in the virtual machine section. After clicking, a webpage will appear where we will be able to create resources.
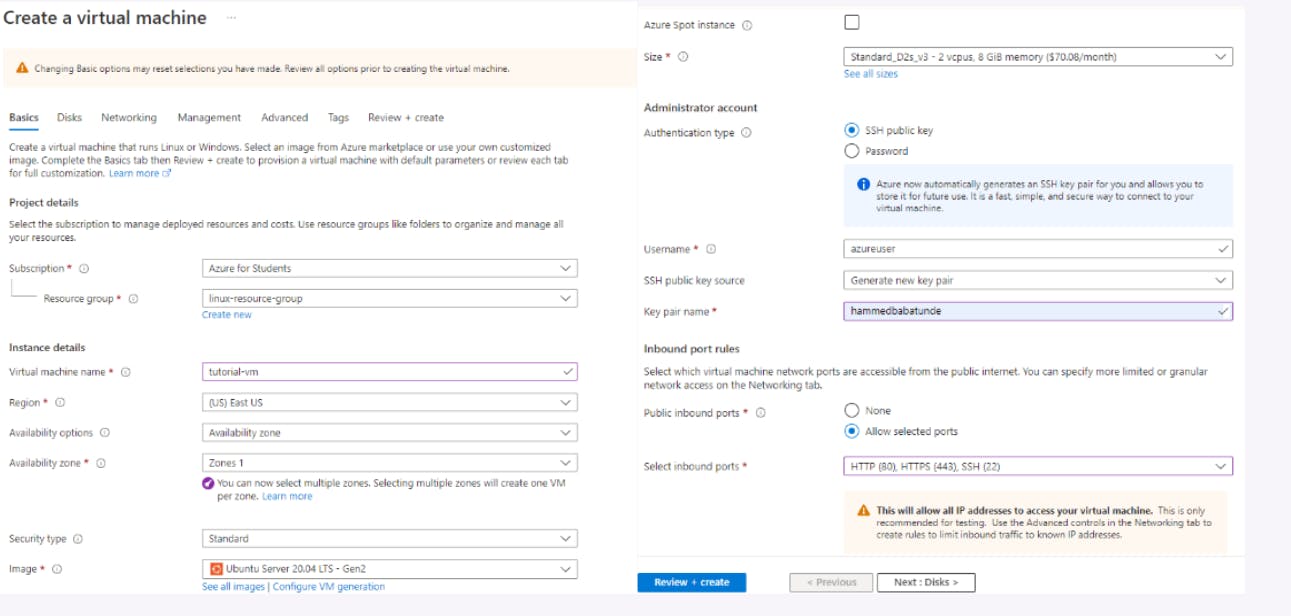
We will be prompted to provide the basic details of the virtual machine we are trying to create. Here is the essential information to fill in:
Subscription: The subscription under which the virtual machine will be placed must be provided. Most times, the default subscription under which the resource group is provisioned is what all resources will inherit. Here, I will have to select the Azure student subscription and you can select any subscription available in your account.
Resource Group: Here, we will select Linux-resource-group as the resource group for the virtual machine.
Virtual Machine Name: We will name our VM name as tutorial-vm.
Region: The region zone will be East US, and this is the same as the region zone for the resource group in which this virtual machine is. Please note that the region zone for the resource group can differ from the resource region zone.
Availability Options: Here, we will be selecting the Availability zone. You can read more on what each availability option means here.
Security Type: We will select the standard option as the security type for this virtual machine.
Image: This is one of the most critical configurations for a virtual machine. A Virtual Machine image is a file that contains a virtual disk with a bootable operating system has been installed. In a simple term, it includes the OS installed on the VM. We will select Ubuntu Server 20.04 LTS - Gen 2 as our image. You can check out the list of virtual machine images available in azure here.
Azure Spot Instance: Azure Spot instance is a cost-saving option to run a virtual machine in Azure. We will not select this option.
Size: The ideal size for this VM is the Standard_D2s.v3 - 2vcpus, which has 8 Gibibyte (GiB).
Authentication type: We will select the SSH public key as the authentication type for the virtual machine. It is vital to log into the virtual machine from our local pc via SSH.
Username: I will use hammed-Linux-VM as the administrator username for the VM. Please feel free to use your name.
SSH public key source: We will select Generate new key pair to get new keys that will enable us to log into the virtual machine from our local pc.
Keypair name: An SSH key pair contains both a public key and a private key. We will use hammed-Linux-VM as the name of the keypair.
Public inbound ports: We will have to select Allow selected ports to enable devices to connect with the VM via the public inbound ports
Selected inbound ports: We will enable HTTP, HTTPS, and SSH options.
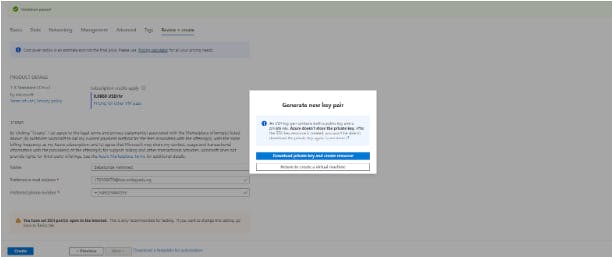
After filling in the essential information to configure the virtual machine, we will review and create the virtual machine. We can also change other configurations for the virtual machine, but we will leave the default settings. These configurations include the disk, networking, management, and more.
Once we click on the review and create button, Azure will confirm that the Virtual machine has been correctly configured. We will get a notification message saying, “Validation passed.” We can now make the virtual machine by clicking on create. We have to download and store the private key of the virtual machine. Ensure that you keep the private key of the VM where you can access it.
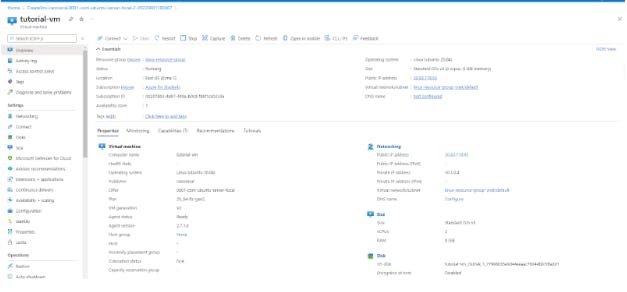
We will need to wait for Azure to deploy the virtual machine. It will take a few seconds, and once it is done, we will get a notification that the deployment of the virtual machine is complete.

Finally, we can go to the Linux VM that was deployed by clicking on “Go to resource.” Once the webpage loads, we will see all the information and configuration available in the new Linux Virtual Machine that was recently created.
Conclusion
This tutorial explained how to create a Linux virtual machine in Azure.
I'd love to connect with you at Twitter | LinkedIn | GitHub
Reference
You may find these resources helpful.